For some time now I’ve been thinking about putting a camera or cameras on my bike for my commute. While there was no single thing that tipped me over the edge, and I’ve been lucky to only have some rare incidents with other traffic, the ease with which you can fit cameras to bikes meant that I needed to bite the bullet. On camera footage definitely helps with prosecutions of bad behaviour – especially driving.
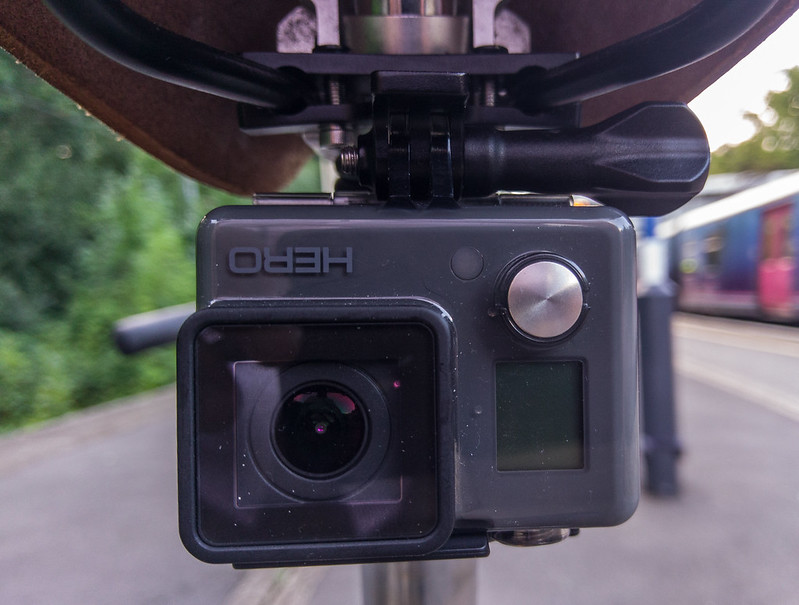
I wanted to do it cheaply and I already owned an inexpensive GoPro Hero camera. These retailed for less than £100 or so a couple of years ago (that’s cheap for a GoPro). These models aren’t available any more, but they shoot 1080 at 25 frames a second which is fine in this instance. I know that today, there are a wide range of cheaper action-cams available online and on the high street. I suspect that some of these may supercede a three-year-old base level GoPro, but the footage is of high enough quality for my needs, and I already had the camera.
I attached it to my saddle using an adapter that fits to the rails at the back of the saddle (although see below for a better value package). This mounts the camera upside down, and as long as you make the change in the settings, it records video in the correct ratio. Mounting it under the saddle hides, to some extent, the size of the camera.
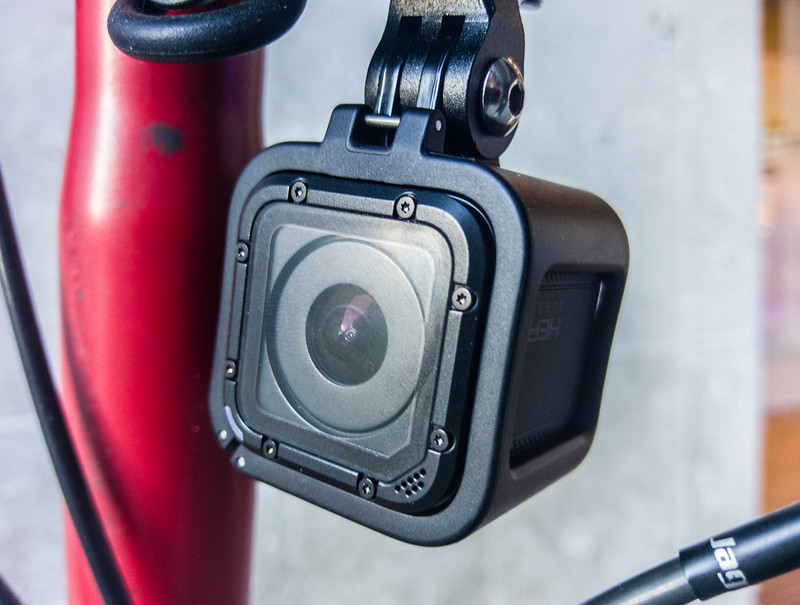
For the front camera, I chose a GoPro Hero Session which is just under £150 and is the cheaper of the two Session cameras currently available (Note that GoPro will probably update their range soon with a rumoured Hero6 being launched at the top end). There’s a Hero5 model that costs another £100 and adds things like voice control and automatic upload to the cloud. The more expensive model is 4K, whereas the model I bought maxes out at 1440p (2.7K). GoPro says that stabilisation comes with the more expensive model, but there is definitely some stabilisation in this cheaper one – at least when you record in 1080p. You can see an example of that in the video of above at around 7:30, when I go over some cobbles. You can see my bag bouncing around on the cobbles while the camera’s view is relatively stable (the bag was a bit overstuffed, but is attached firmly to the bike). The image remains stable as I believe there’s some electronic stabilisation going on – probably throwing away some of the extra pixels from the wider 1440 image.
The cheaper Session is still waterproof without a housing to 10m, and has Bluetooth and WiFi connectivity, although I tend to leave these off to maximise battery life.

Other cameras I considered were the Cycliq Fly6[v] and Fly12. These are cameras specifically designed for bikes, and are built into LED lights. While the rear Fly6[v] was reasonably priced at a little under £100, and includes a very decent looking light, I already have plenty of rear lights. I currently use the Blaze Burner which I backed via Kickstarter. The problem with the front light is that it’s over £200, and is massive. Mounting it on a Brompton would not be easy as you want something that doesn’t stick out when you fold the bike. So it was a non-starter.
Contour cameras are popular with some cyclists and include functionality like over-writing older files that you don’t want to keep. But the camera quality isn’t that great, and there don’t seem to have been any updates in a while. The GoPro Session does have some reasonable low-light imagery for rides in the evening.
To mount the Session to my bike I bought a set of adapters which was good value on Amazon. I was specifically after a minimalist mount that would let me hang the Session below my Brompton’s handlebars. This set came with two options, and I used the smaller one, meaning that the camera doesn’t get in the way when the bike is folded. The camera casing is firmly afixed to both the bars and the GoPro which means removing it all requires a hex key. However the Session itself can easily be popped out via a quick release. The mount set also included another adapter for saddle rails.
Both cameras can be set to use single-button quickstarts – indeed the Session only has one proper button, with a second tiny one set out of the way. So a single press of a button on each camera both turns them on and starts a recording.
The sample video above gives you an idea of what the cameras are capable of, although I know that I could do a bit better with the Session’s output, especially with Protune which allows a “Native” output for finer colour correction in post processing. The regular Hero has no such options with the video quality.
Overall I’m pretty satisfied with my solution. A series of beeps let me know that I’ve switched the cameras on (and off), and I’ve left the LEDs on for confirmation that all is working. The set-up is fully waterproof – the cheaper Hero doesn’t actually come out of its case – and the battery life is sufficient for my needs. I’d say that it’s roughly 2 hours for each camera. Importantly, both cameras fit onto a Brompton very comfortably, and don’t shout “camera” too much.
No sooner had I written most of this entry than I was on my daily commute and the following incident happened. It all happened slowly, and I was unlikely to get hurt as I had plenty of time to brake, but the car driver simply didn’t look to see if there were any cyclists coming as he crossed the junction where I had right of way. Note that while the rear facing camera wouldn’t seem to be much help in this instance, it does allow me to clearly read the driver’s number plate.
Comments
2 responses to “Bike Cameras for my Brompton”
[…] OK – this is really just an excuse to play with an action camera – specifically the GoPro that will spend most of its time on my Brompton. […]
Hi thanks for posting this. Its a sad state of affairs when you can’t go out on tour bike without covering yourself. I too am thinking of front and rear cameras on my bike.